2. Photographing the Disks and Accessing BitCurator
External Clues
Looking at my workflow, the first stage in my ingest process is to photograph the floppy disk I am working with. The reasoning for photographing the disk in this way is twofold:
- It records any useful information that the exterior of the disk may carry, including that which may give a clue about what the disk contains.
- When recorded in tandem with other metadata, it acts as a record of the physical object itself; its shape, size, colour, etc. These are all important things to note when preserving obsolete media, as the form of the media itself can be of as much interest to historians and researchers as the items’ contents.
The disk I am working with is a 3.5″ floppy disk, which was the most commonly used type of floppy disk:
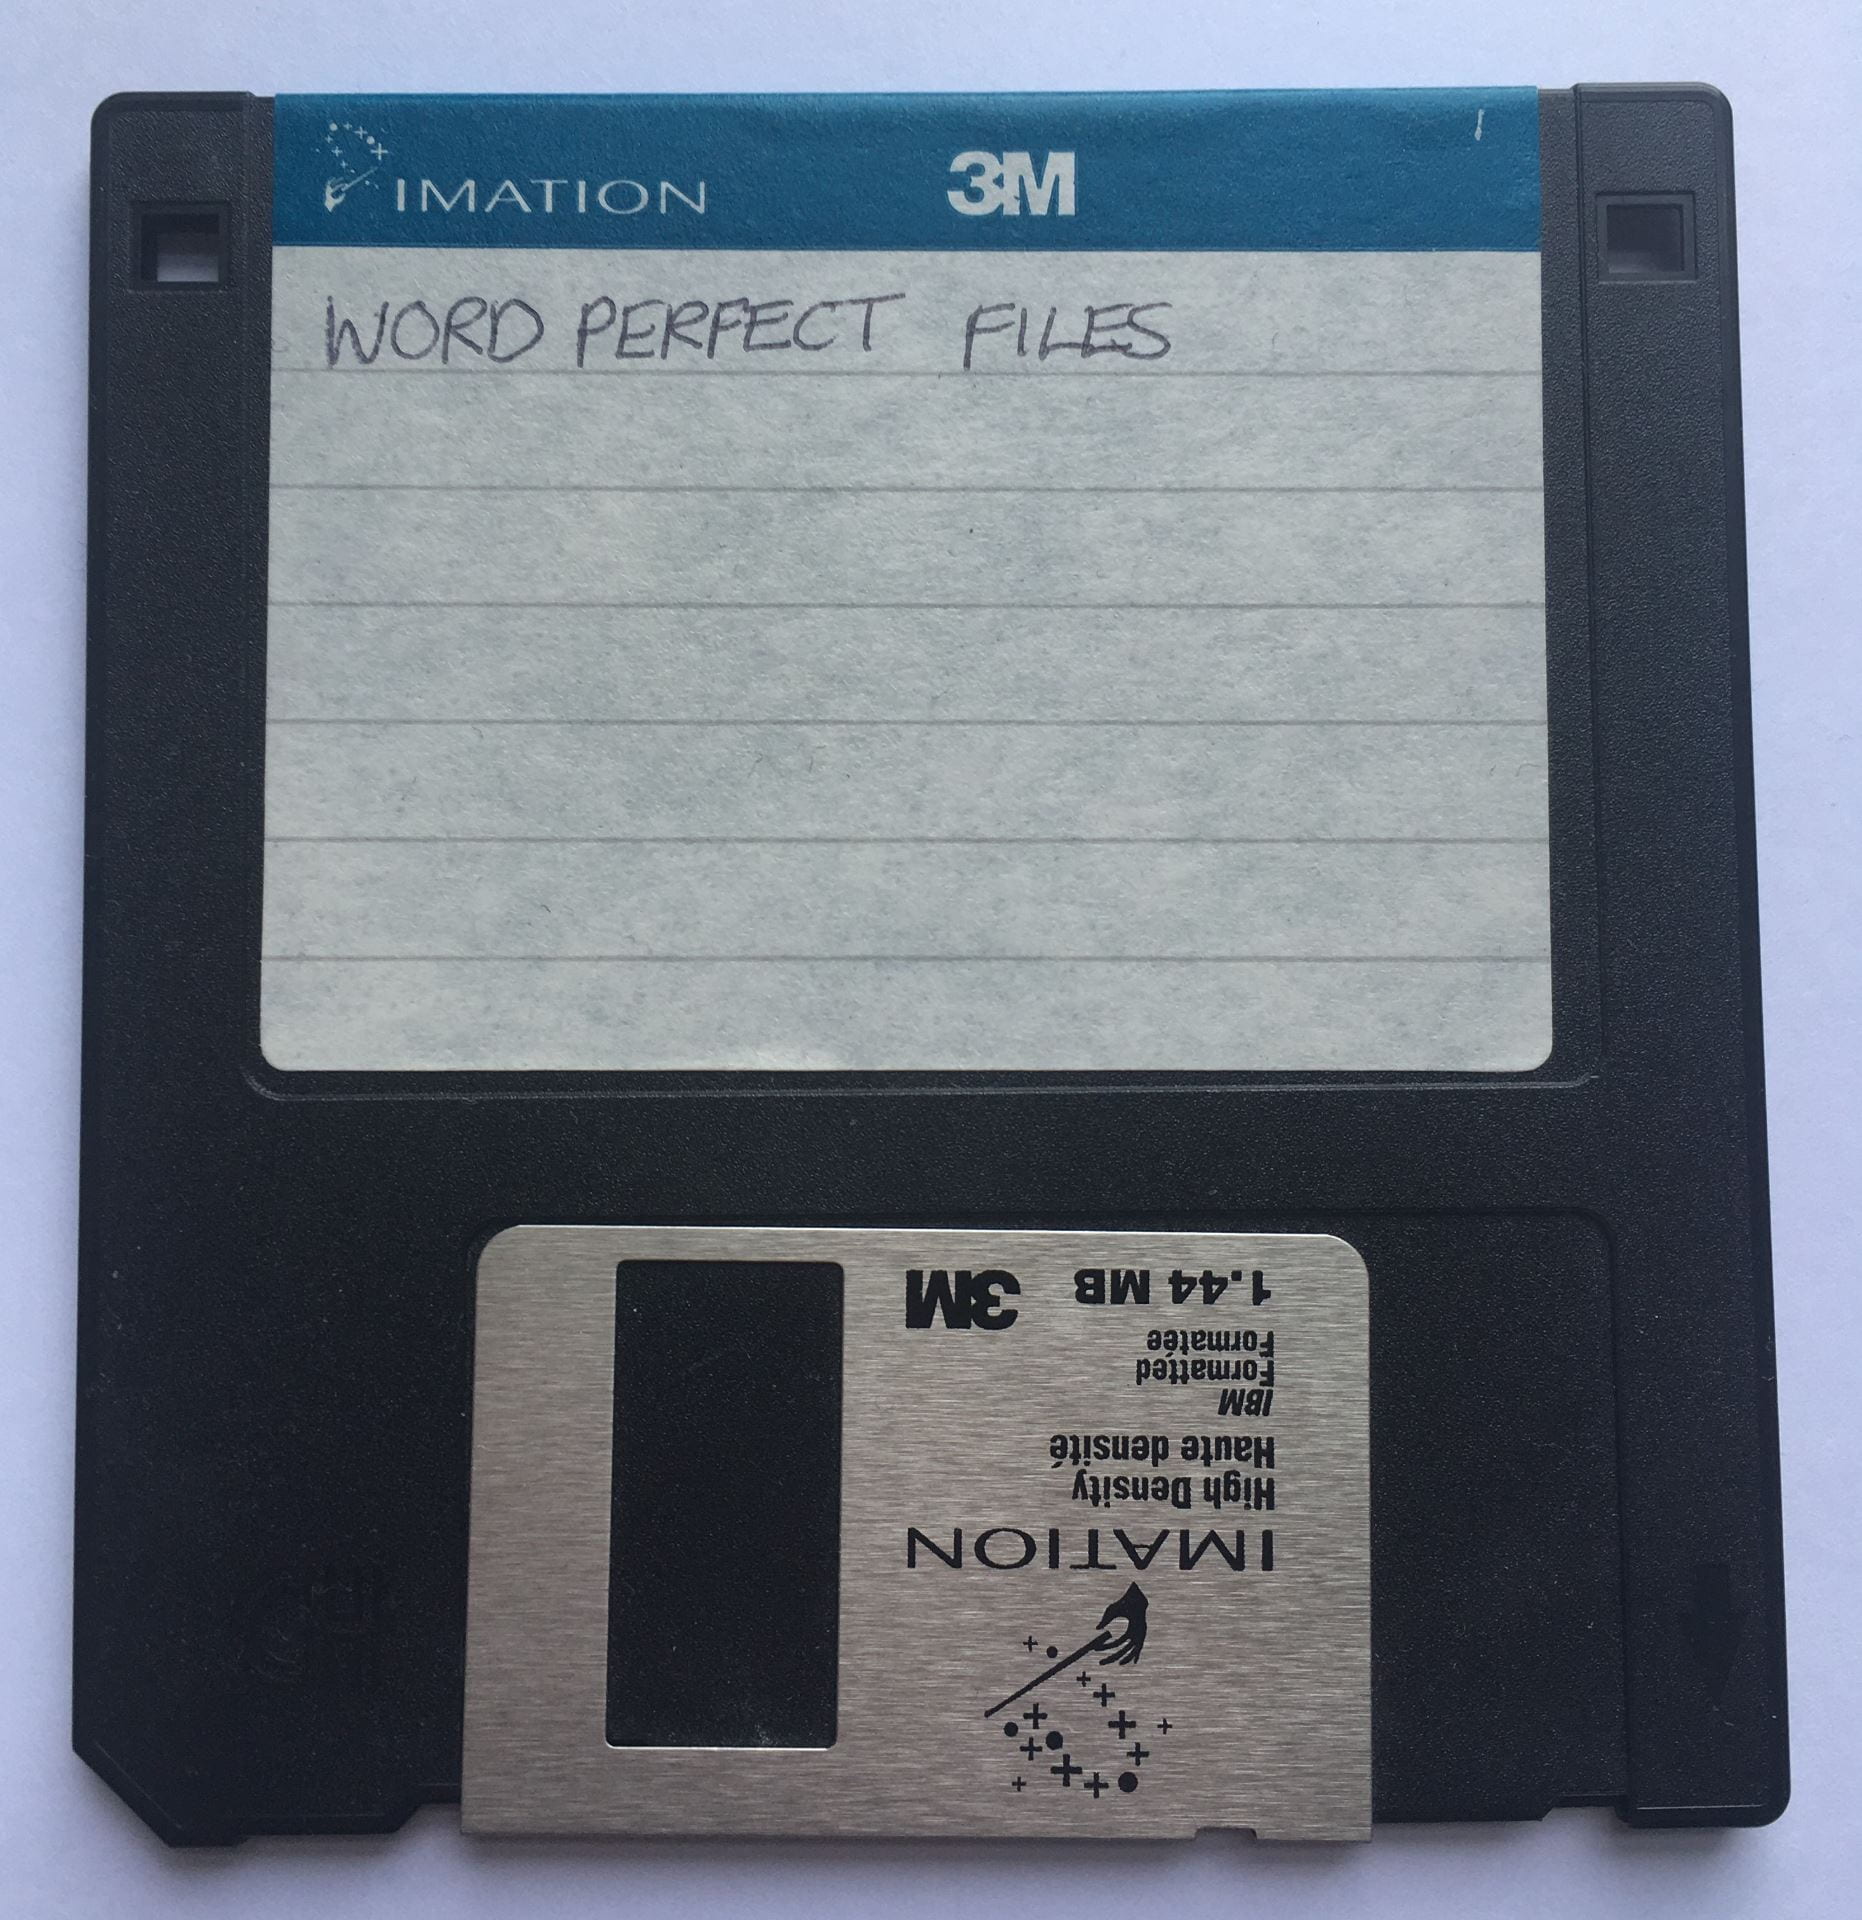
Front of the floppy disk

Reverse of the floppy disk
The exterior of the disk provides two useful piece of information:
- The disk is labelled ‘WORD PERFECT FILES’, which gives some idea of its contents: it will likely contain text files produced with the popular 1980s word processing application WordPerfect. However, as noted by digital archivist Jenny Mitcham, clues on labels must be taken with a pinch of salt; the creator of the disk’s files may not have kept the label up to date and accurately representing the disk’s contents. The information on these kinds of labels is still important to store in some form, but with the knowledge that the files themselves may be something entirely different.
- Write protection is on for this disk, meaning that the disk’s contents are prevented from being erased or overwritten. Any changes to the disk’s contents made during the digital forensics process would compromise its integrity as an artefact, and could potentially see valuable information lost or altered. Write protection is engaged through moving a little tab on the reverse side of the disk into the ‘locked’ position:
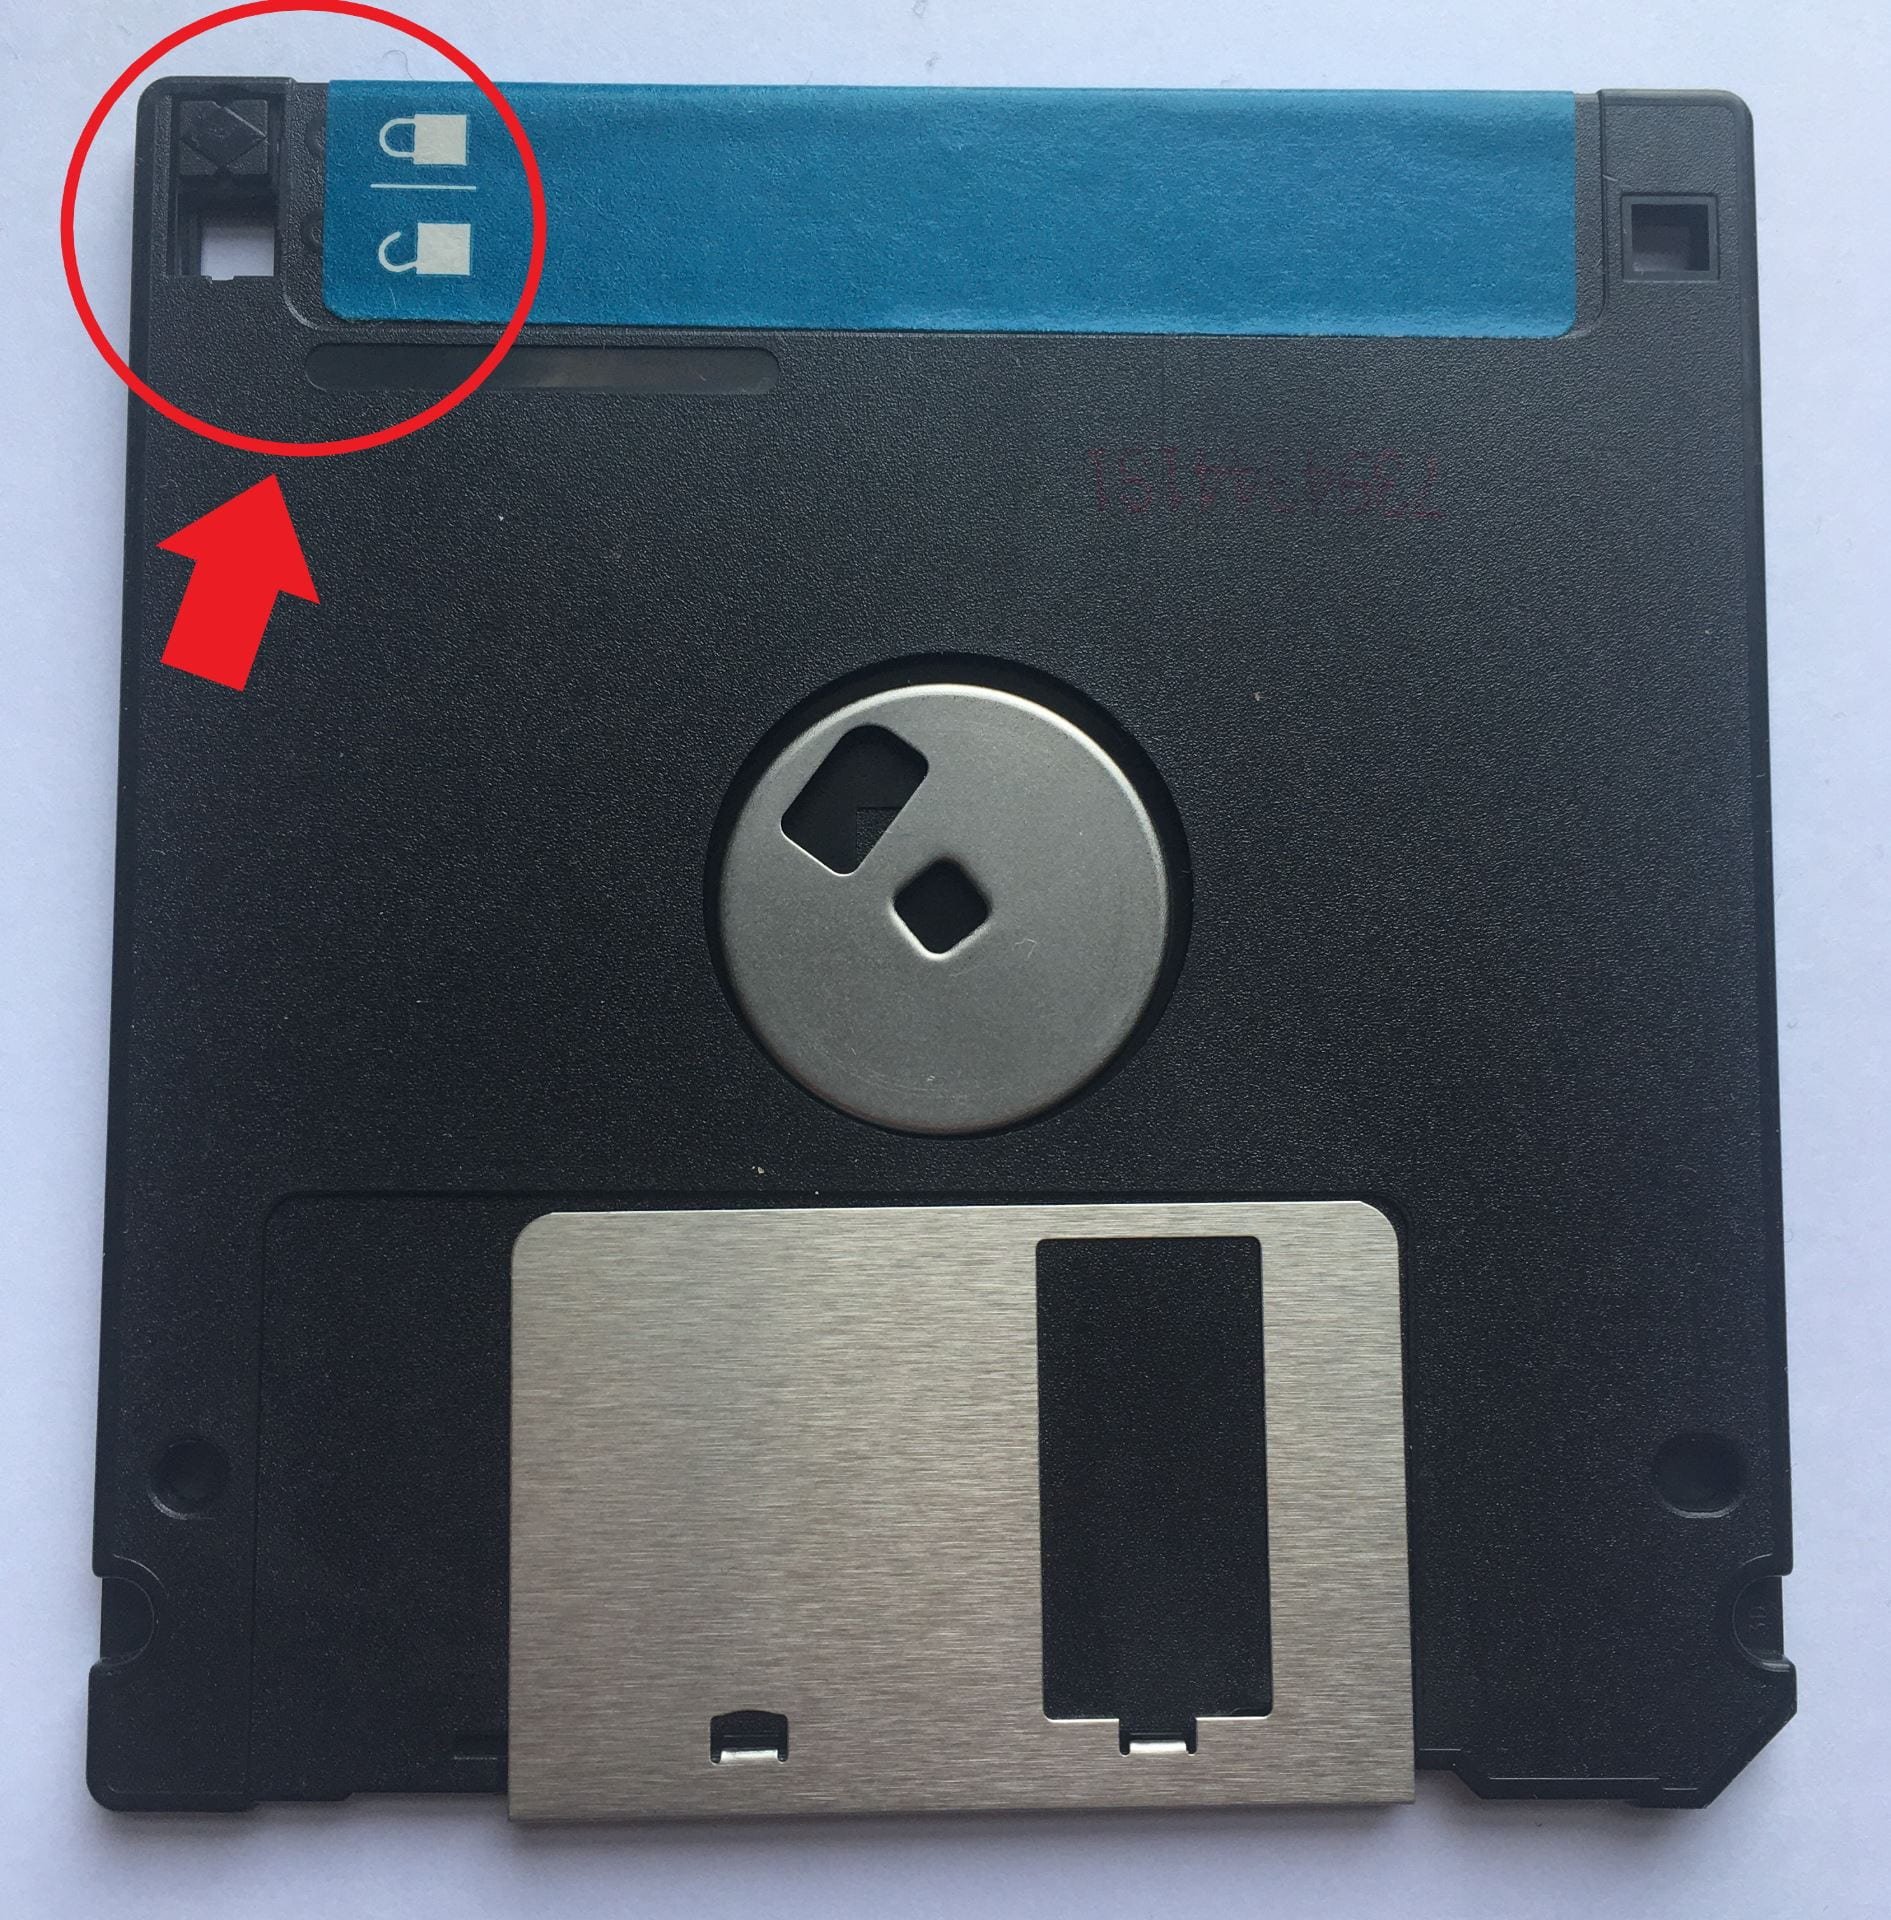
My disk with write protection engaged
Accessing BitCurator
To run BitCurator on your own laptop or desktop computer, you need to download the following:
- BitCurator – BitCurator is freely distributed, open-source software, meaning it can be downloaded by anyone for free. The current release is BitCurator 2.2.6.
- VirtualBox – BitCurator is essentially a virtual machine; VirtualBox is the software that allows you to run BitCurator (and other environments) on your personal or work computer.
- 7-Zip – You’ll need this if you run a Windows operating system in order to unpack the BitCurator download.
Once I’d successfully downloaded the three elements above, I turned to the BitCurator Quick Start guide. The key information is on pages 6-16. I found following these instructions extremely simple and within about twenty minutes of having downloaded BitCurator, it was up and running.
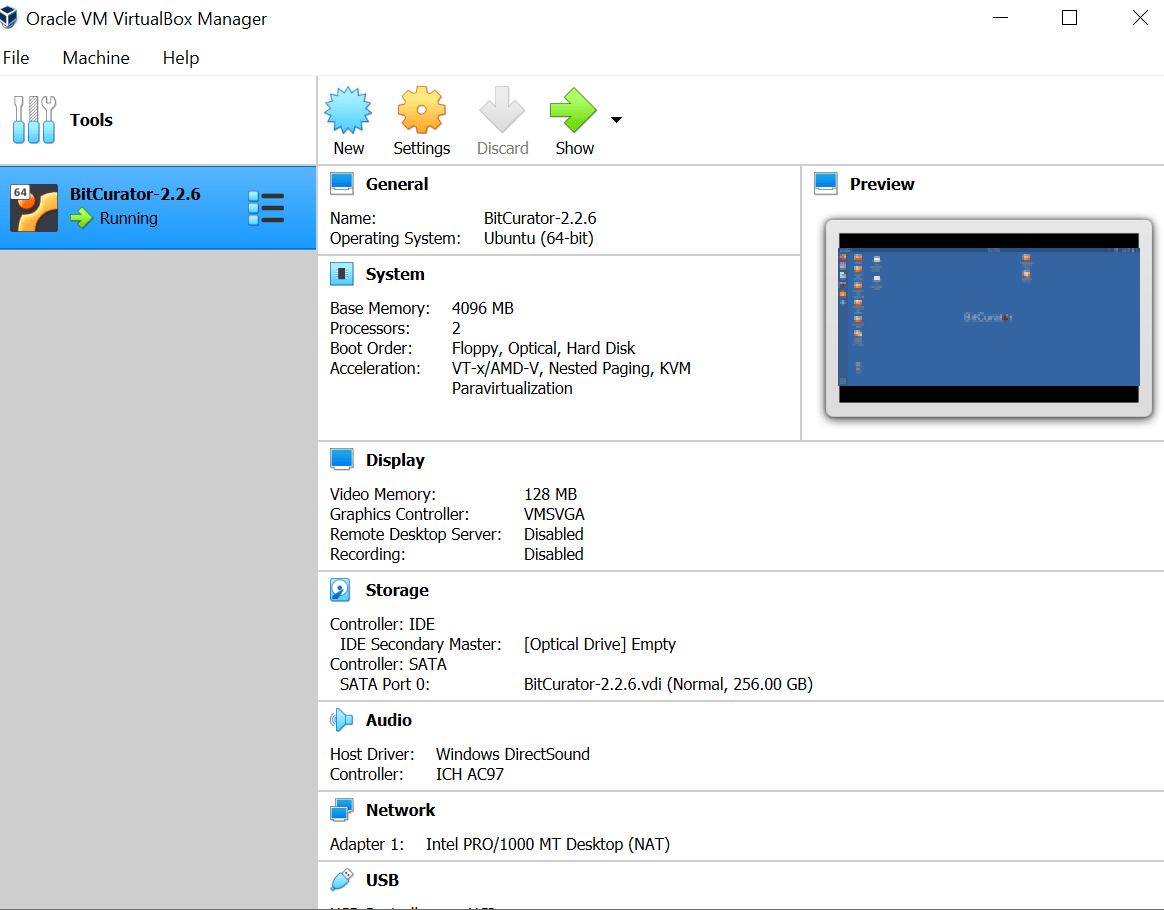
VirtualBox running BitCurator
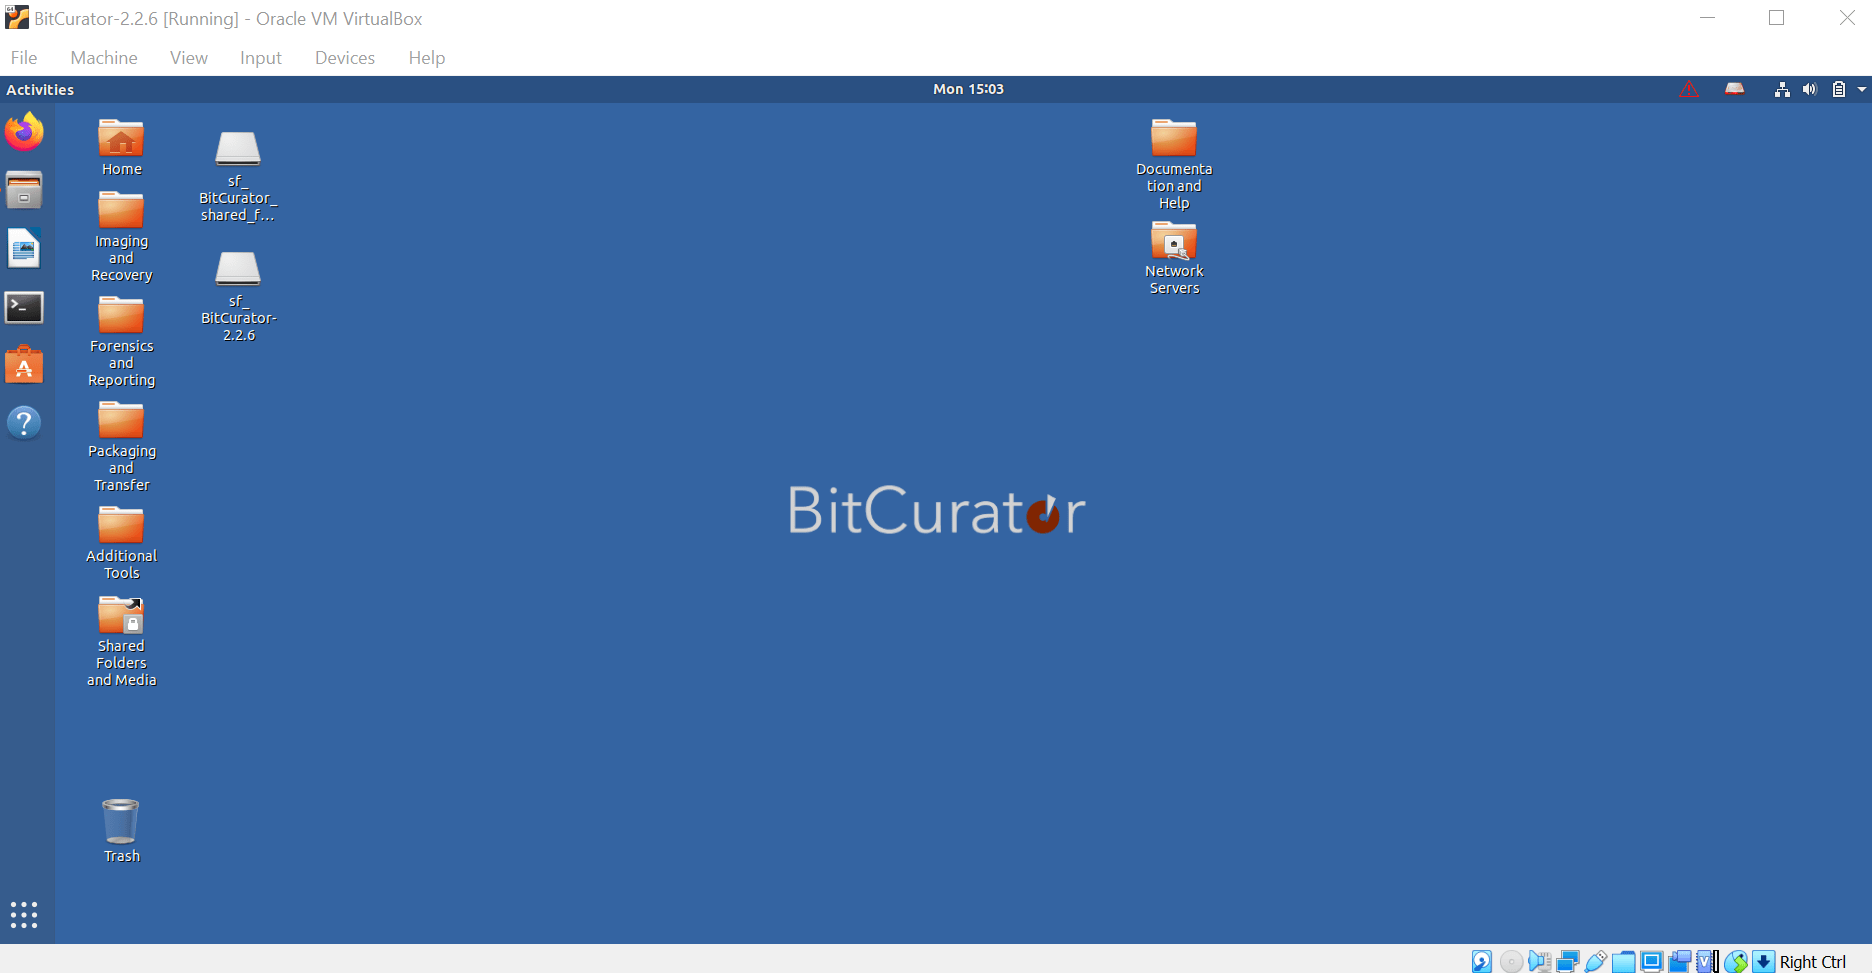
The BitCurator environment as viewed on my laptop screen
An important part of this process is setting up a shared folder. This creates a space that both the ‘host’ (my laptop) and BitCurator can save files to, allowing you as the user to access files on your own machine without needing to go through BitCurator. Essentially, it enables files to be more easily shareable, and thus more useable; an important attribute of any digital object.
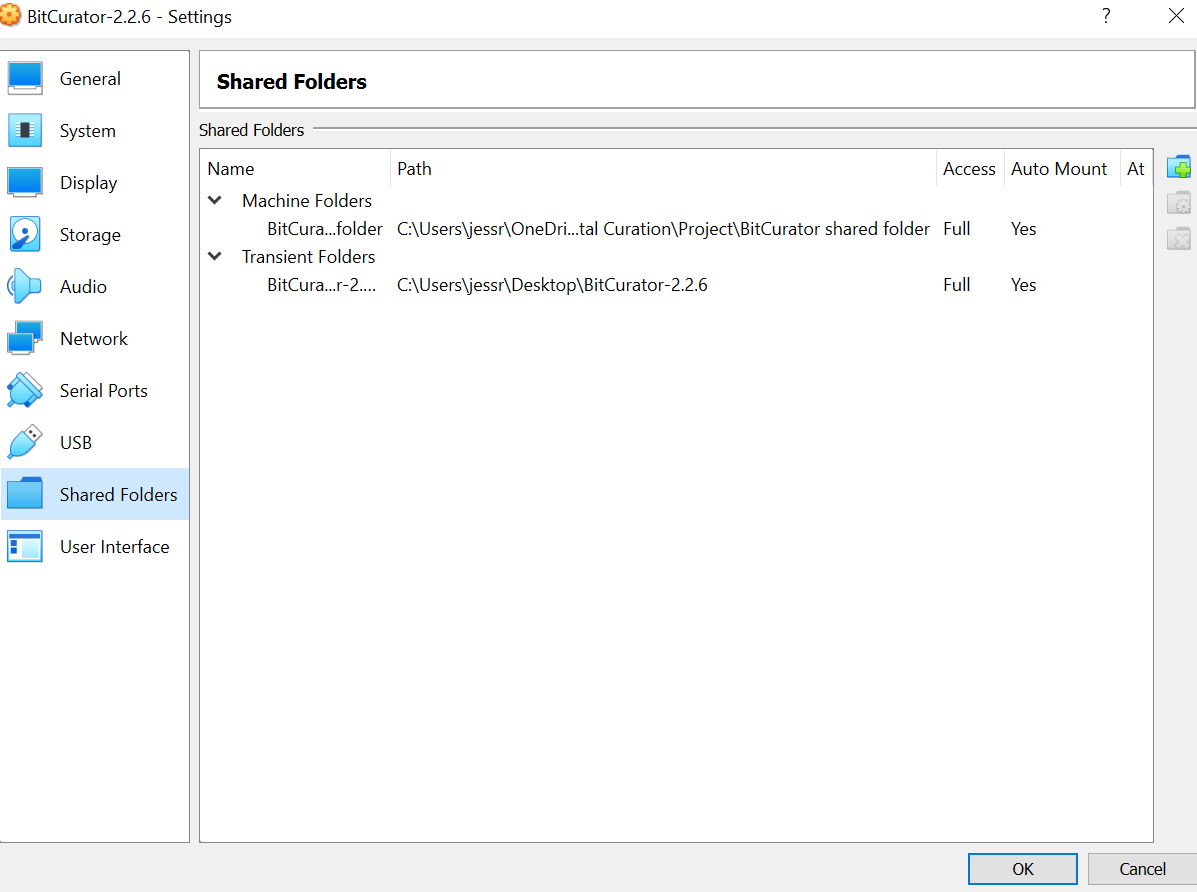
Setting up a couple of shared folders
With the installation complete, I can move onto the next step: making a disk image of the floppy disk.
→ Click here to move to the next stage in my workflow where I try my hand at creating a disk image
Leave a Reply